Adding a DKIM record to your DNS zone
DKIM (DomainKeys Identified Mail)

Marc
Last Update a year ago
This topic covers processes relating to a cPanel service.
You will need to be logged into the cPanel account to follow the steps.
If you're not sure how to access your cPanel service — please, follow this guide before continuing: How do I Login to cPanel?
DKIM is a method used to verify that an email message was actually sent by the domain it claims to be from and that the email content hasn't been tampered with during transit. It adds a digital signature to your emails, kind of like a unique seal, so when someone receives your email, they can check the seal to ensure it hasn't been broken or altered.
Generate and Install DKIM Keys (if you are using your network dynamics hosting account as an email):
1. Login to cPanel
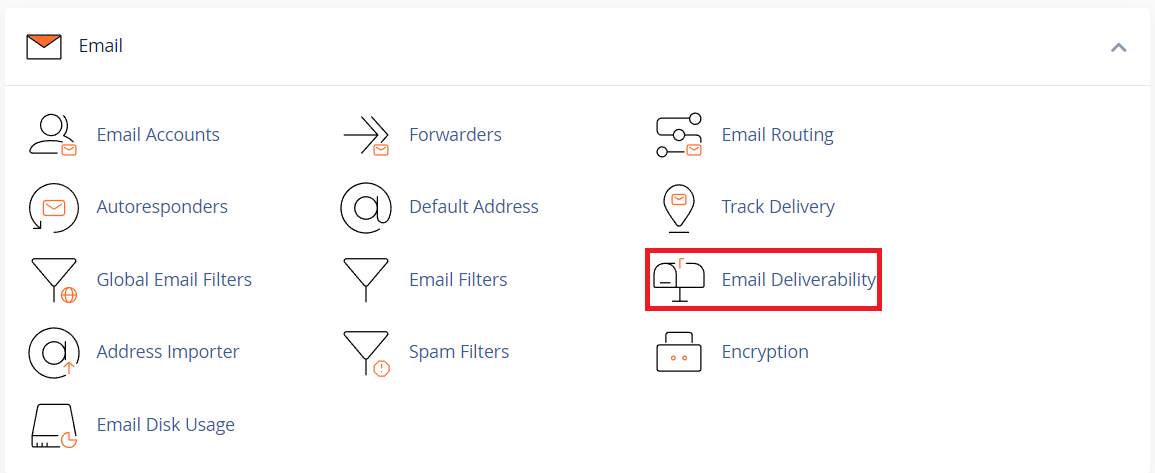
2. Once inside cPanel, navigate to the 'Email' section and click on 'Email Deliverability'.
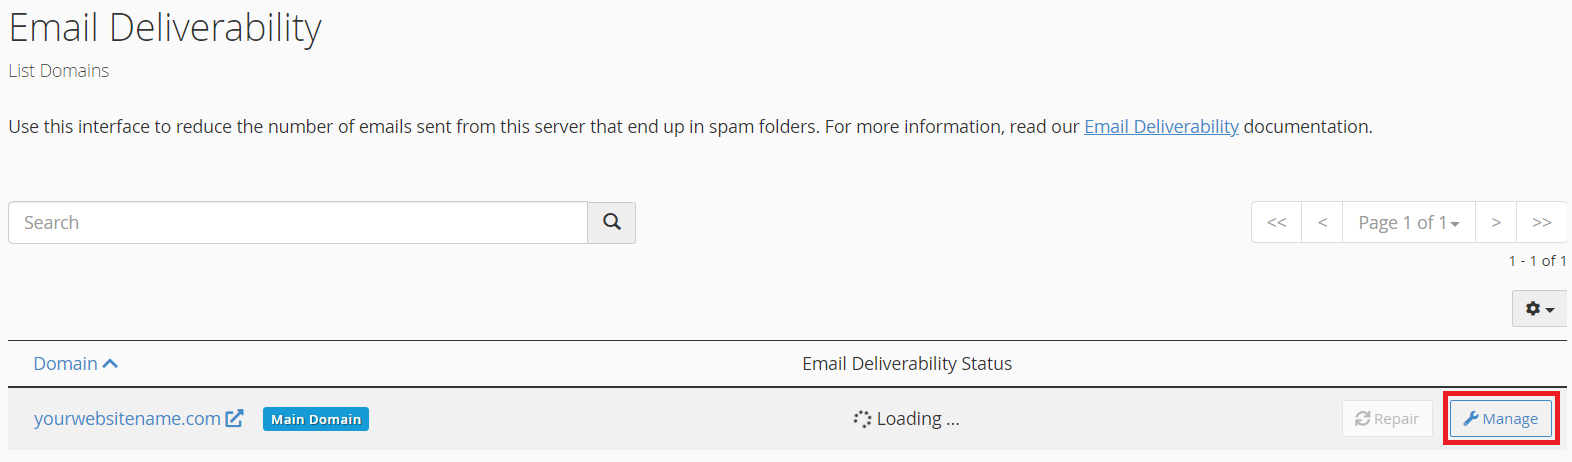
3. Click the 'Manage' button next to your preferred domain name on the left side.
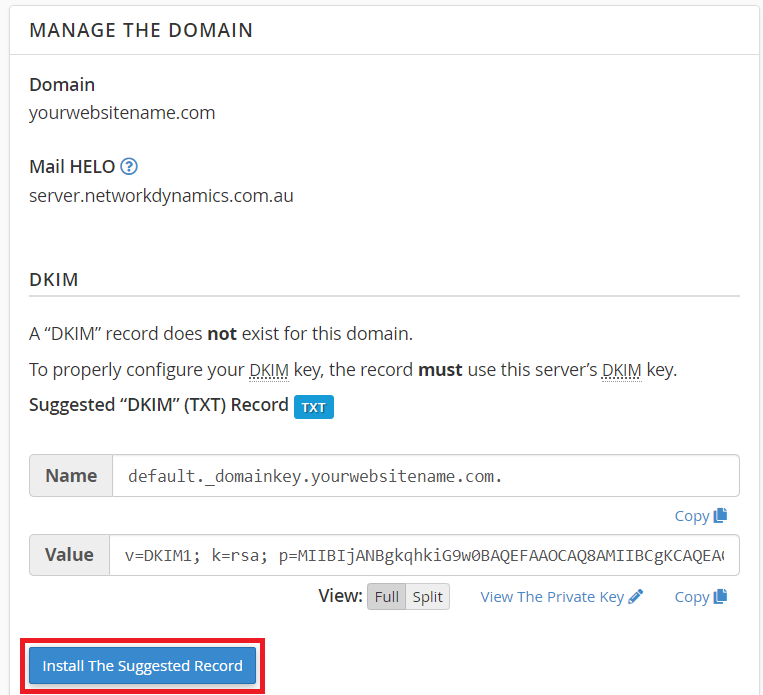
4. You will now see your DKIM records. You can also click the 'Install The Suggested Record' button, and it will automatically install your DKIM record in your DNS zone.
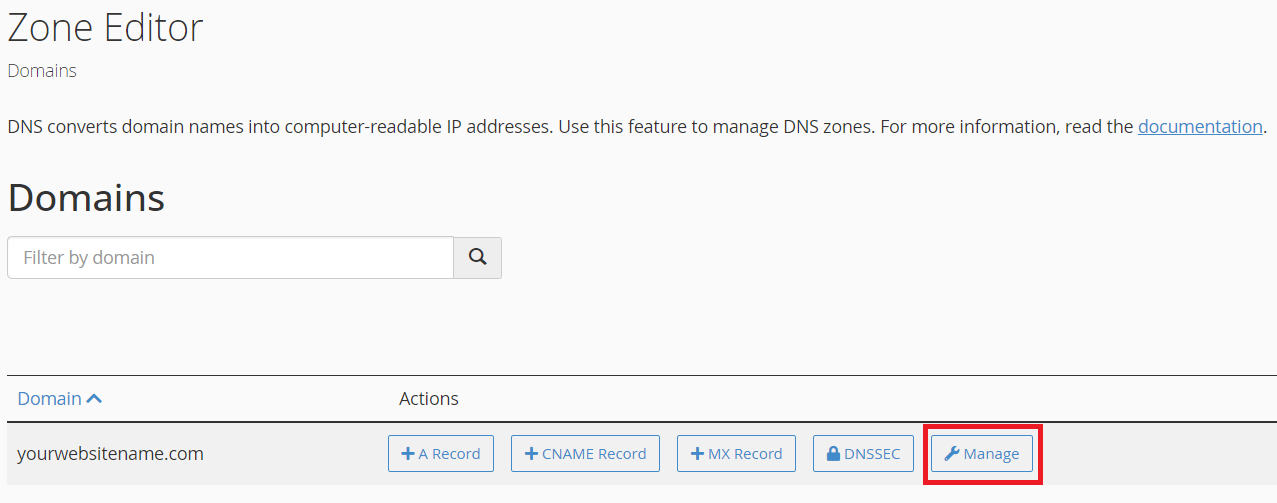
5. Once it says 'successfully installed', you can go back to cPanel, navigate to the 'Domains' section, and click on 'Zone Editor'.

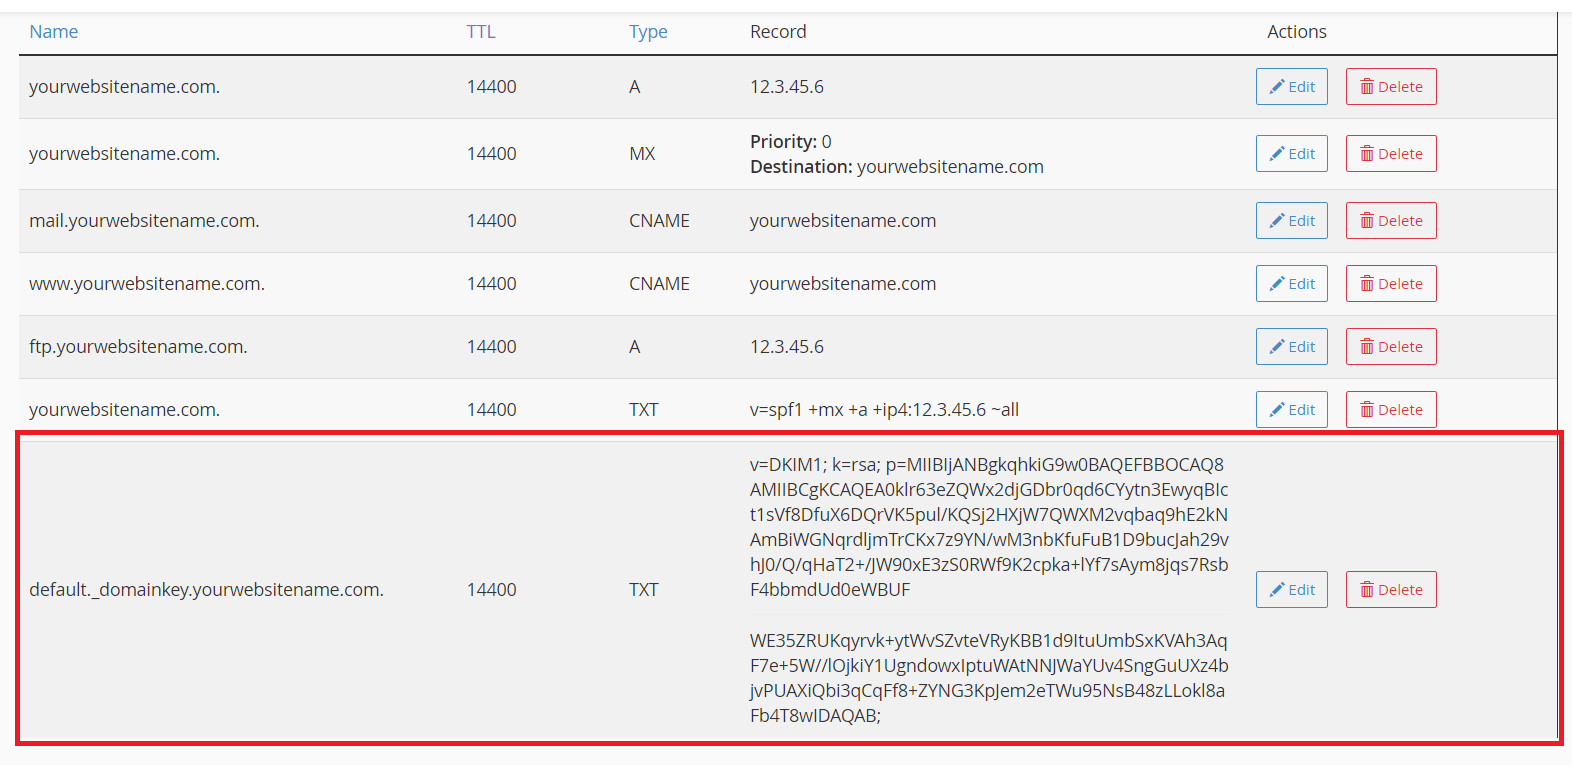
7. Scroll down and search for the keyword 'default._domainkey'. You will now see that your DKIM is installed.
To Manually install your DKIM record to DNS:
1. Go to Cpanel home page.
2. Navigate to the 'Domains' section, and click on 'Zone Editor'.
3. Click on 'Manage' for your preferred domain name.
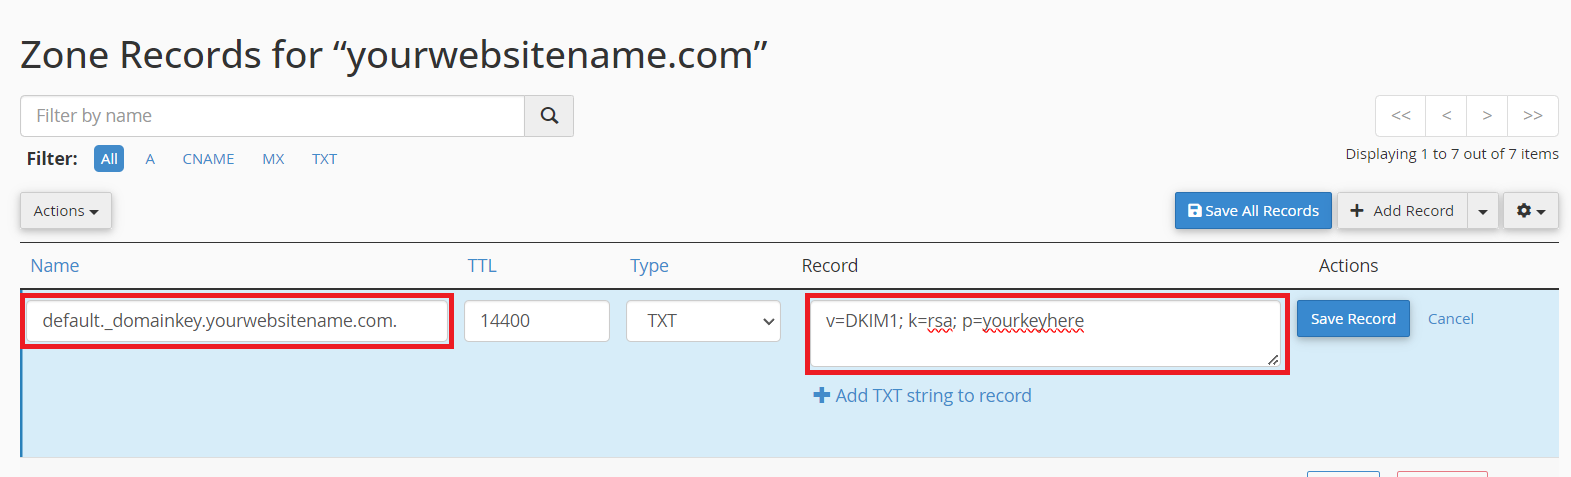
4. Add a new TXT record with the DKIM public key you get from the email deliverability section above. The record name should look like "default._domainkey.yourwebsitename.com." and the value starts with these "v=DKIM1; k=rsa; p=yourkeyhere"
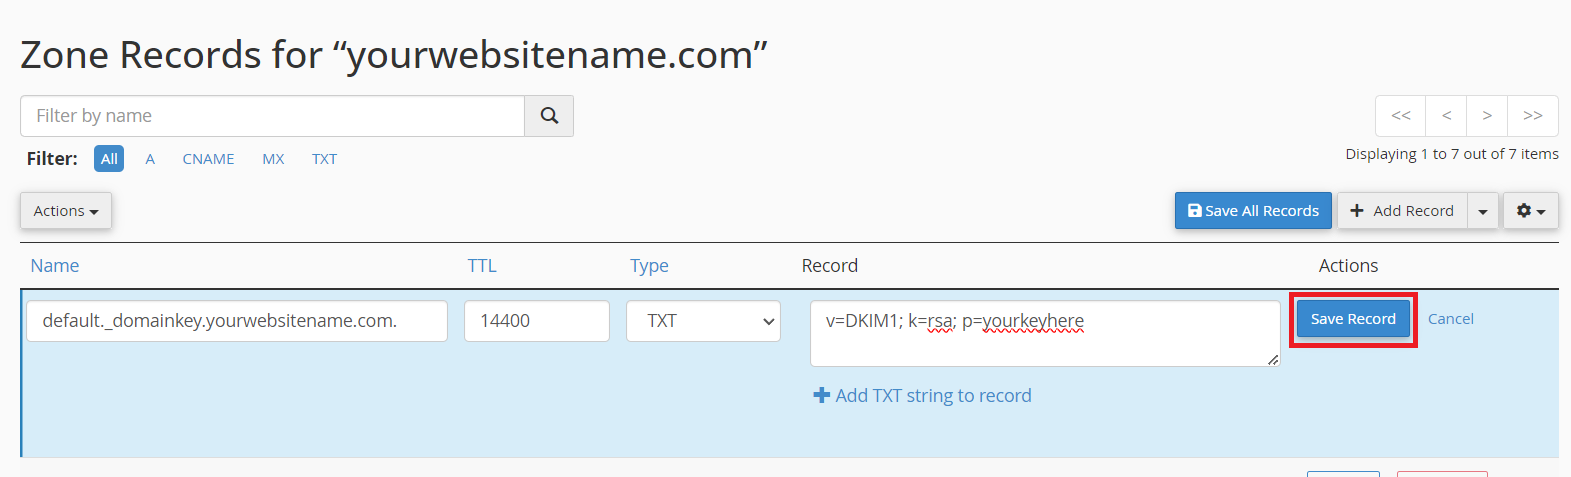
5. After you have entered your DKIM name and value, click 'Save Record'.
It may take some time for these changes to propagate across the internet.
Once these steps are completed, your emails will be signed with a DKIM signature, helping recipients verify the authenticity of your emails.