Invite additional users to your Hosting account
Setup additional, authorised users who can co-administer your account

Marc
Last Update 5 months ago
This topic covers processes requiring access to your Network Dynamics Hosting Client Area. If you’re not sure how to access the Client Area, please follow this guide before continuing - How do I login to my Network Dynamics Hosting Client Area?
Please note: "account users" are different from "account contacts" - for more detail on this topic please see our article: 'Account Users and Account Contacts'.
The 'Invite New User' feature allows you to invite other users to co-administer your account. This guide will show you how you can add additional users to your Network Dynamics Hosting account.
- If the invitee already has an existing user account with Network Dynamics Hosting, they will be able to access your account using their existing login credentials.
- If the user does not yet have a user account, they will be prompted to create one during the invite process.
- Additional users can be given varying levels of access and permissions.
- Only the main owner account can invite new users or transfer ownership of the account.
PART 1: Send the Invitation
To send an invite, first, you’ll need to log into the Network Dynamics Hosting Client Area.
Once logged in:
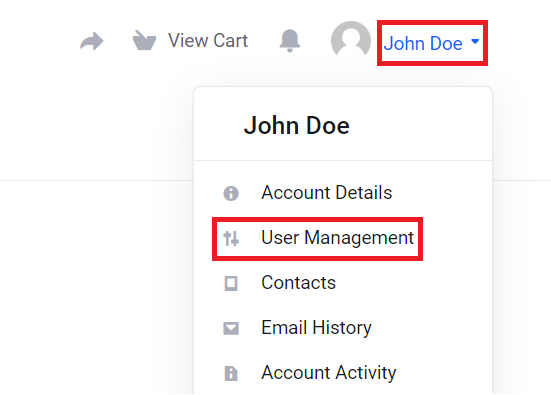
1. Click the account profile in the top-right corner
2. From the drop-down menu, select 'User Management'
3. On the next screen, click the 'Invite New User' button
4. In the pop-up window, enter the email address of the user you’d like to invite
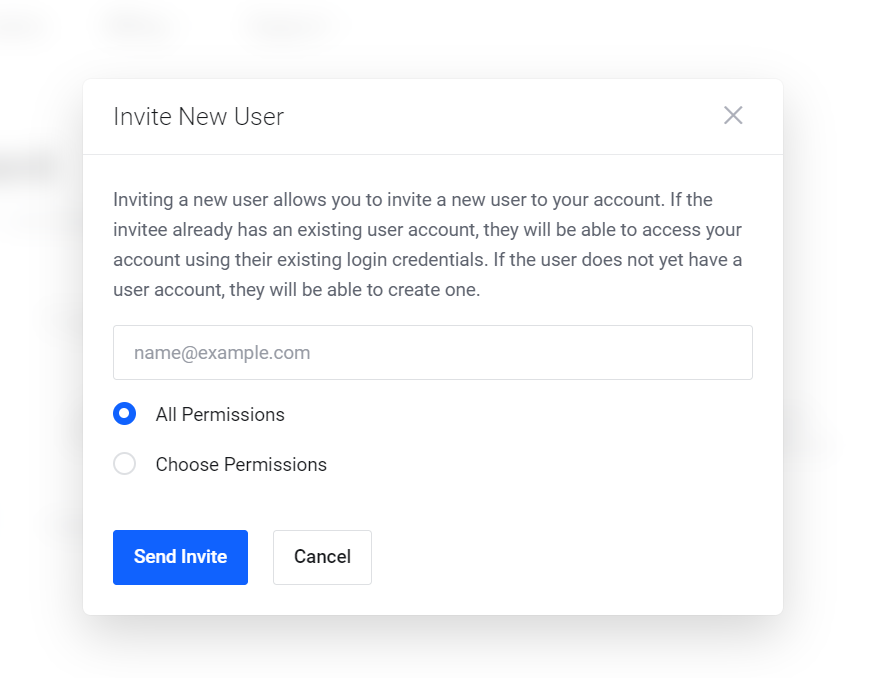
5. Also note, the two options for "permissions"
6. Select 'All Permissions' to give full access, or;
7. Select 'Choose Permissions' to only allow selected permissions (see below for further details of permissions)
8. When you're ready, click 'Send Invite'
9. You’ll then see a green "Invite sent successfully!" message
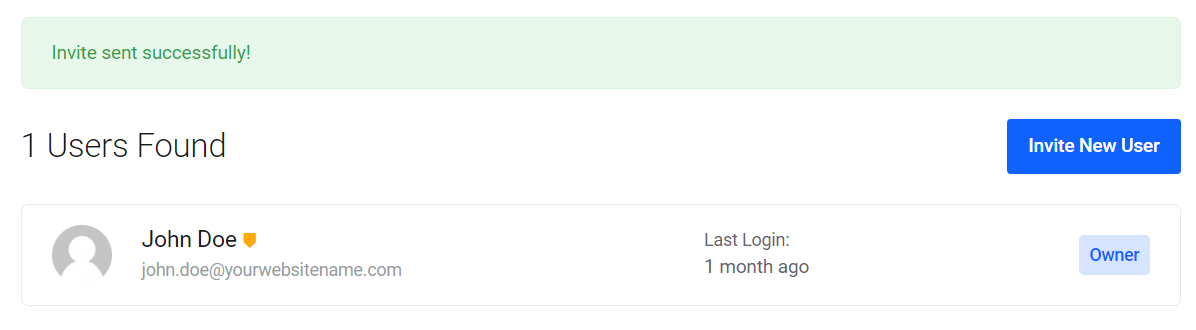
10. There will now be a list of “Pending Invites” at the bottom of the page

11. Note the options to resend and cancel pending invites (circular arrow and cross icon to the right). Invitations expire after 7 days so you may need to resend if the invitee has not responded in time.
PART 2: Invitee Accepts the Invitation
Once you have sent an invitation, the invitee will receive an email prompting them to accept the new user invite. The process will require them to link their Network Dynamics Hosting account to yours.
- If the user does not yet have a Network Dynamics Hosting account, they will be prompted to create one during the invite process.
- If the invitee already has an existing user account with Network Dynamics Hosting, they will be able to access your account using their existing login credentials.
OVERVIEW OF AVAILABLE USER PERMISSIONS:
| PERMISSION | DESCRIPTION |
| Modify Master Account Profile | Access and modify the client profile information |
| View & Manage Contacts | Access and manage contacts on the account |
| View Products & Services | View and access to products, services and add-ons |
| View & Modify Product Passwords | Allow password resets and other related actions |
| Perform Single Sign-On | Allow one-click login into hosting/cPanel services |
| View Domains | View access to domain registrations |
| Manage Domain Settings | Allow domain management eg. nameservers/transfers |
| View & Pay Invoices | Ability to view and pay invoices |
| View & Accept Quotes | View and acceptance permissions for quotes |
| View & Open Support Tickets | Access to open, respond and manage support tickets |
| View & Manage Affiliate Account | Access to view and request withdrawals |
| View Emails | Access to view account email history |
| Place New Orders/Upgrades/Cancellations | Allow placing of new orders |